Tired of Typing? No More left=”0″ right=”0″ top=”0″ bottom=”0″
 I often find myself typing the same old snipped of MXML code over and over again. Useful nevertheless, I’m getting tired it! If you are like me, it’s time to automate this. Fortunately Flash Builder code templates feature is the perfect solution! Jump after the break to see my new love in action.
This is how I created my new favorite template:
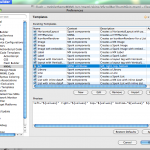
- Go to FlashBuilder -> Preferences -> Flash Builder -> Editors -> Code Templates -> MXML
- Click new template
- Type “left” for the name
- Select “MXML attributes” from the Context drop-down
- Fill in suitable description
- Paste the template body:
left="${values}" right="${values}" top="${values}" bottom="${values}" ${cursor} - Hit “Apply” and close the dialog
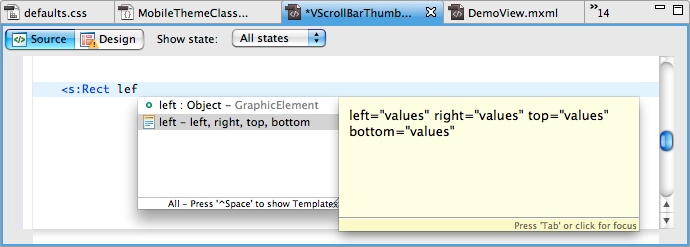
Now I’m ready to use it – I start typing “left” and hit the ^space to bring up the suggestions…
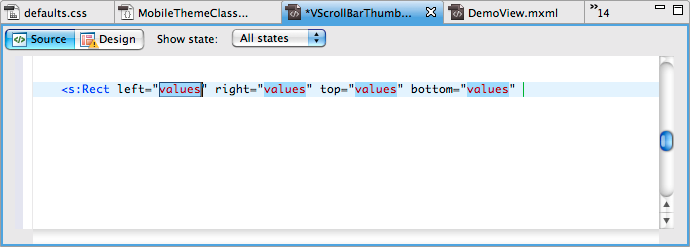
…then I select my template and Flash Builder inserts the body and places my cursor on the first field…
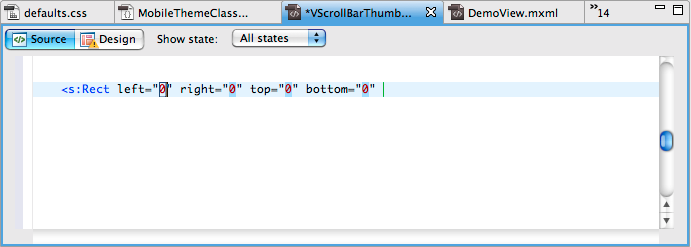
…I enter the value – in this case a single “0” and Flash Builder fills in the values for all four attributes!
Finally, I press “tab” to get to the end of the code snippet and continue with the MXML.
Cheers!
PS : I looove code templates! Almost as much as conditional breakpoints!!! 😉


Thanks for the tip
Can you explain what’s the difference between left=”0″ right=”0″ bottom=”0″ top=”0″ and width=”100%” height=”100%”?
@florian They both equate to the same thing, although if you wanted a 5px gap on just the left or right it wouldn’t be possible using the width property. Likewise setting something to half the height of the parent would be difficult using top and button (especially if it can be resized).
If you are using width 100% and height 100% then I would stick with that, but some developers tend to always use top/right/bottom/left because it makes it easier to change later 🙂
One extra benefit to using left/right/top/bottom is that GraphicElements with stroke will be positioned on pixel boundaries. If using stroke with x/y then you’d need to offset by half of the stroke weight.
For example using a Rect like the following
<s:Rect width=”100%” height=”100%” />
<s:stroke>
<s:SolidColorStroke color=”” … /> <!– defaults to 1 pixel stroke –>
will place the stroke on half-pixel. Fortunately the player will then pixel-hint and nudge the horizontal/vertical lines and they will align with pixels so it will be unnoticeable. Unfortunately, if you’re using rounded corners, the curves won’t be pixel-hinted and the whole thing will look bad. The fix is to either use left/right/top/bottom or offset like this:
<s:Rect width=”100%” height=”100%” x=”0.5″ y=”0.5″ />
<s:stroke>
<s:SolidColorStroke color=”” … /> <!– defaults to 1 pixel stroke –>
That’s the reason I always use left/right/top/bottom for all MXML graphic elements 🙂
You can default to 0 as a value with the following:
left=”${0}” right=”${0}” top=”${0}” bottom=”${0}”
I named the shortcut tlbr because I use:
top=”${0}” left=”${0}” bottom=”${0}” right=”${0)”
it’s fast to type tlbr then ctrl-space